Laboratory Hands
I had a job interview with SNOLAB last week, and the interviewer asked me if I had ‘good lab hands’. I told him ‘not yet, but hopefully I will develop them next week’. That is because this week I have been assembling the experimental apparatus for the experiment I am running on my current NSERC USRA term.
The goal of my project is to characterize the transfer function of electrodes in my laboratory’s low temperature vaccuum system, by using the spin-sample we are experimenting on as a detection tool. In our lab, we attach indium-phosphide spin samples to the end of silicon nanowires, which are protruding from a silicon chip off which they are grown. These nanowires are sensitive to electric fields, and oscillate. The oscillations are measured with an interferometer.
For our proof of concept test of our measurement scheme, we are using a microscale cantilever as a stand in for the silicon nanowire. These cantilevers are 160 microns long, and protrude from a 3.14mm x 4mm chip. We plate the cantilever with a thing layer of gold for conduction, and then position it 50um above a 200um wide copper strip (the ‘gate’).
The idea is that the force felt by the cantilever is proportional to the product of the gate voltage and the external voltage of the electrodes we want to characterize. This is because the cantilever and gate act as a capacitor, which puts a charge on the cantilever with magnitude proportional to the gate voltage; \(q = CV_g\) and then the force felt by the cantilever is \(F = qE = CV_g \nabla \phi \sim CV_g V_e\) We can then give our gate voltage a frequency such that one of the product termshas a resonant frequency with the cantilever, such that we can recontruct the electrode voltage from the cantilever oscillations.
It all sounds good on paper, but a 160um cantilever really is very small in everyday terms. When holding the chip in your palm, you cannot see the cantilever with your naked eye. Not only that but touching the cantilever at all will very likely break it right off of the chip. So you can imagine that it is pretty difficult to put it 50um above a copper gate without breaking it. This is why I needed to develop my laboratory hands.
After having an aluminum holder machined and printing a circuit board with the copper gate on it, as well as a pocket for the chip to sit at the correct depth, I was ready to put the cantilever chip into the board. I had a chip which already lost it’s cantilevers which I had been using for measurements, so I decided to try and mount this chip in first as a practice run.
I got a pair of tweezers, a small screwdriver (00-90 screws! they are tiny!) and sat down at our microscope station to try and mount this chip. With the microscope on 2x magnification, I tried to lift the chip out of it’s tray and place it on my aluminum mount beside the copper gate. I grabbed it at the wrong angle with the tweezers and it flew off and landed on the table. This would be the first of many such failures.
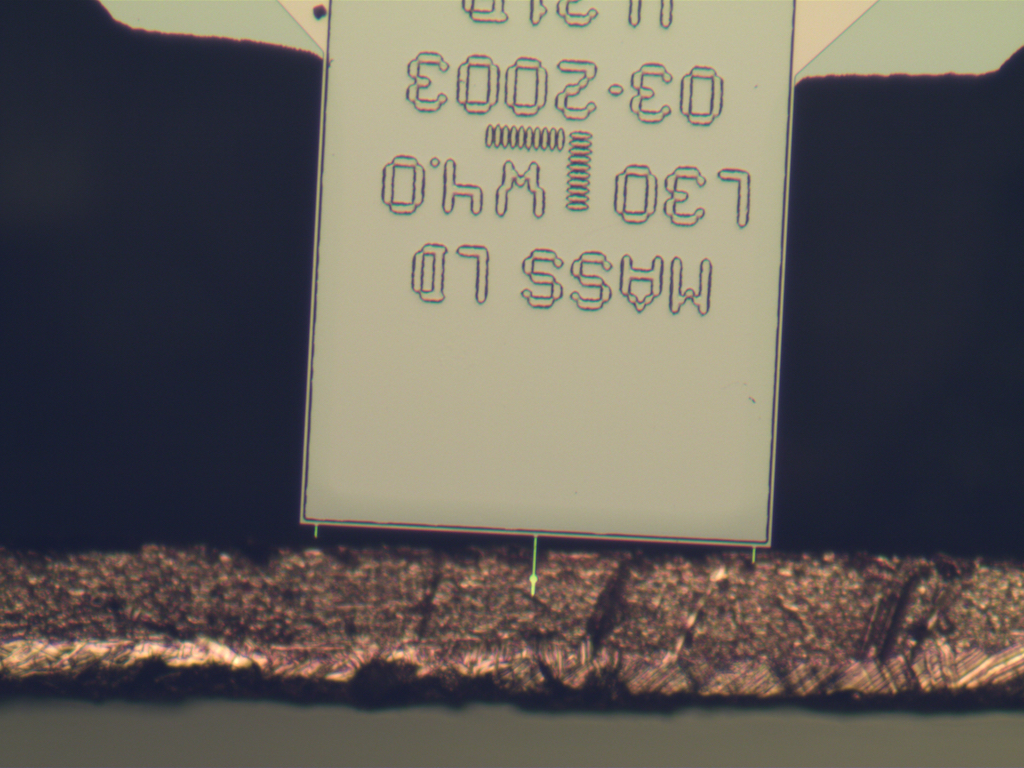
After an hour of putting the practice chip in and taking it back out, trying out different techniques and occasionally sending the chip flying, the poor chip was totally scratched and dented all over. However, I had mastered the technique of handling this chip and gently screwing it down into the circuit board. So I got a chip with cantilevers remaining, and loaded it in - successfully as you can see from the image. Now I am just waiting for the previous experiment in the vacuum chamber to finish so I can run my experiment!
Next time somebody asks if I have laboratory hands I can confidently say yes.